> ## Documentation Index
> Fetch the complete documentation index at: https://docs.hypersync.tartanhq.com/llms.txt
> Use this file to discover all available pages before exploring further.
# Console
 **The Tartan HRMS Sync Console** is a no-code platform built to simplify HRMS integration and data management. It empowers you to onboard clients, control data syncs, manage users, and configure integration settings—all without writing a single line of code.
**What You Can Do with the Console**
* **Invite and Manage Clients** : Easily invite your clients to connect their HRMS systems, share the employee details and manage each connection from a centralized dashboard.
* **Set Sync Frequency** : Define how often Tartan should fetch updates from your clients' HRMS platforms to keep employee data up-to-date.
* **View and Export Employee Directory** : Access the full employee directory from connected clients and export it as a CSV for reporting or processing.
* **Customize Source Data** : Apply transformation rules to structure source data to meet your specific format or logic needs.
* **User Management** : Invite team members within your organization, assign them roles (e.g., admin, viewer), and associate them with specific clients for better access control.
* **Set Data Models** : Select the data points you require from the corporate. You can mark specific fields as mandatory, while allowing the corporate the flexibility to disable non-mandatory fields, ensuring both security and control in the data-sharing process.
* **SDK UI Customization & Preview** : If you're using the SDK, use the console to customize the UI elements and instantly preview SDK changes in the console itself.
* **Webhook Configuration** : Set up your webhook endpoint and choose the specific events you'd like to subscribe to—ensuring you receive real-time updates when important changes occur.
## Access to Tartan Console
Reach out to your SPOC in tartan or [ankur@tartanhq.com](mailto:ankur@tartanhq.com) to get access to a sandbox account.
Once you are done with the testing, we will provide you with a whitelabeled console which you can use to invite your corporates.
**Whitelabelling includes** :
* Custom domain
* Customized login page
* Customized emails
* Customized Branding
## Setup Webhook
You can setup your webhook URL using tartan console and opt for the webhook events you want to consume.
**Steps to setup the webhook**
Login to the tartan console using your credentials.
Refer to settings tab in side navbar and open the webhooks page.
Setup your webhook URL on which you want to receive the webhook events.
**The Tartan HRMS Sync Console** is a no-code platform built to simplify HRMS integration and data management. It empowers you to onboard clients, control data syncs, manage users, and configure integration settings—all without writing a single line of code.
**What You Can Do with the Console**
* **Invite and Manage Clients** : Easily invite your clients to connect their HRMS systems, share the employee details and manage each connection from a centralized dashboard.
* **Set Sync Frequency** : Define how often Tartan should fetch updates from your clients' HRMS platforms to keep employee data up-to-date.
* **View and Export Employee Directory** : Access the full employee directory from connected clients and export it as a CSV for reporting or processing.
* **Customize Source Data** : Apply transformation rules to structure source data to meet your specific format or logic needs.
* **User Management** : Invite team members within your organization, assign them roles (e.g., admin, viewer), and associate them with specific clients for better access control.
* **Set Data Models** : Select the data points you require from the corporate. You can mark specific fields as mandatory, while allowing the corporate the flexibility to disable non-mandatory fields, ensuring both security and control in the data-sharing process.
* **SDK UI Customization & Preview** : If you're using the SDK, use the console to customize the UI elements and instantly preview SDK changes in the console itself.
* **Webhook Configuration** : Set up your webhook endpoint and choose the specific events you'd like to subscribe to—ensuring you receive real-time updates when important changes occur.
## Access to Tartan Console
Reach out to your SPOC in tartan or [ankur@tartanhq.com](mailto:ankur@tartanhq.com) to get access to a sandbox account.
Once you are done with the testing, we will provide you with a whitelabeled console which you can use to invite your corporates.
**Whitelabelling includes** :
* Custom domain
* Customized login page
* Customized emails
* Customized Branding
## Setup Webhook
You can setup your webhook URL using tartan console and opt for the webhook events you want to consume.
**Steps to setup the webhook**
Login to the tartan console using your credentials.
Refer to settings tab in side navbar and open the webhooks page.
Setup your webhook URL on which you want to receive the webhook events.
 Select the webhook events you want to receive.
 ## SDK UI Customization
You can customize your SDK by adding your company logo, applying brand colors to CTAs, and selecting your preferred mode of integration.
**Steps to customize UI**
Login to the tartan console using your credentials.
Refer to the settings tab in side navbar and open the UI page.
Upload your brand logo, configure CTA colors, and select your preferred integration modes.
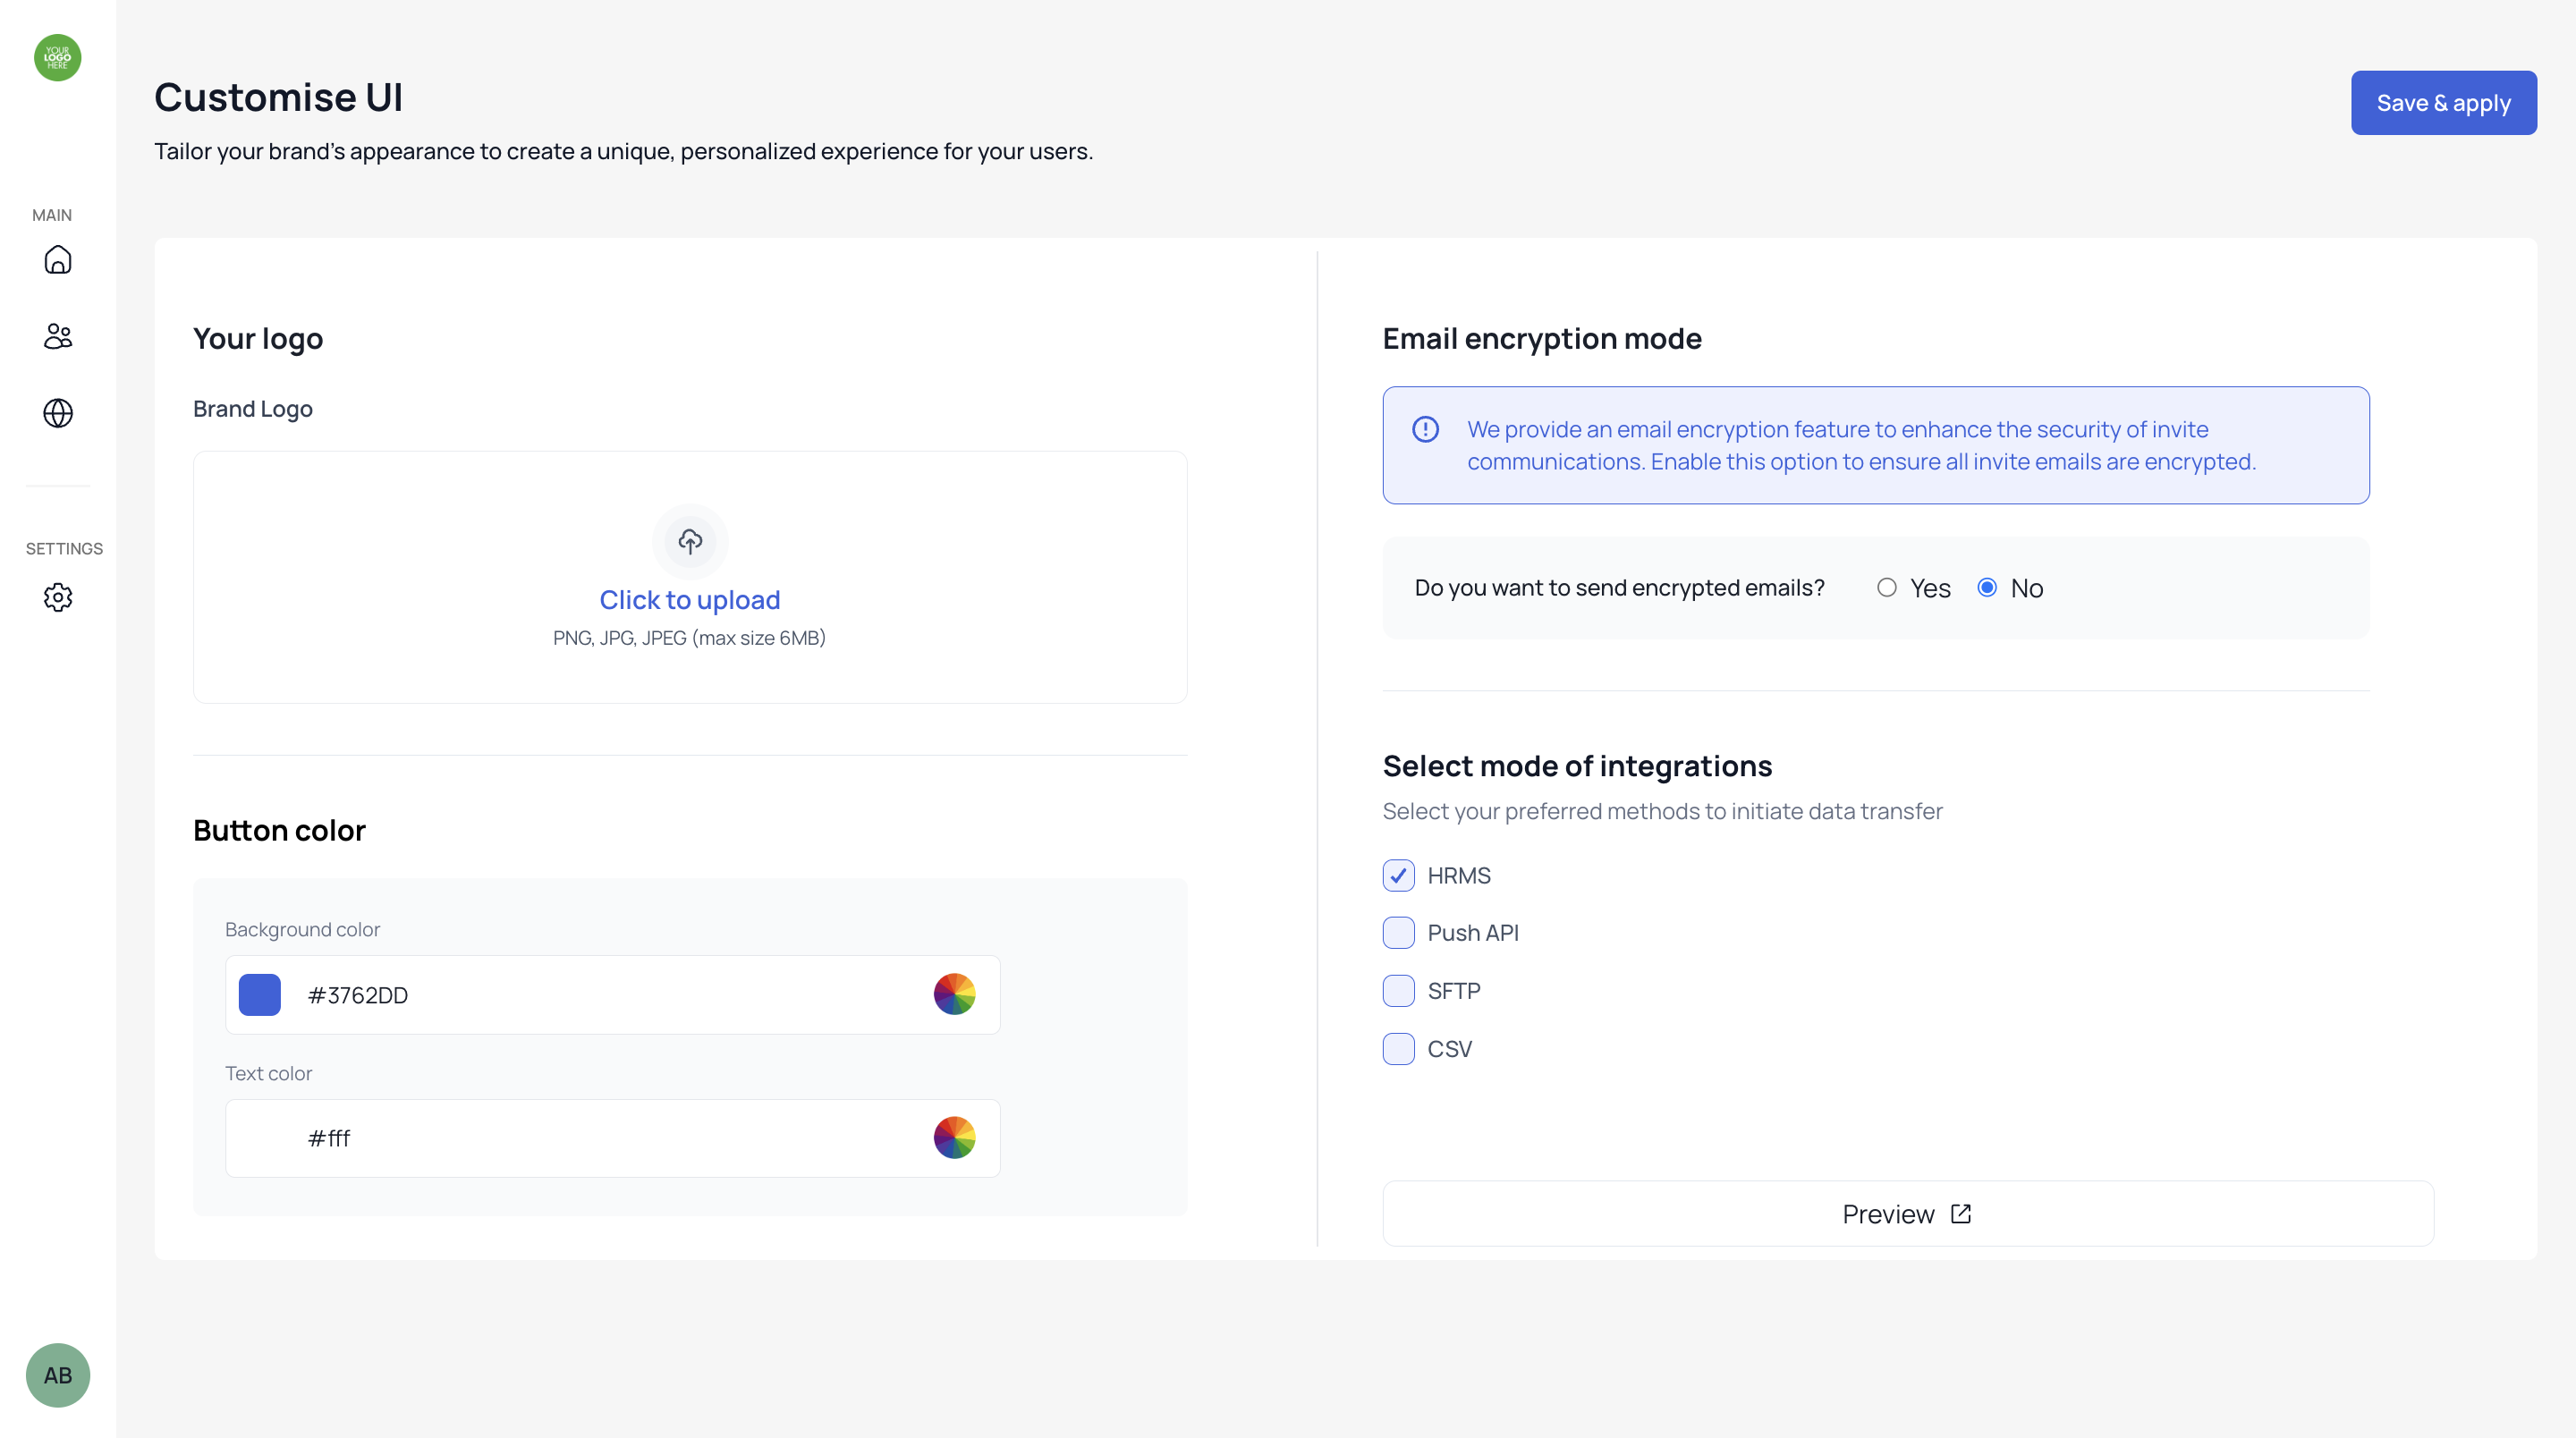
## SDK UI Customization
You can customize your SDK by adding your company logo, applying brand colors to CTAs, and selecting your preferred mode of integration.
**Steps to customize UI**
Login to the tartan console using your credentials.
Refer to the settings tab in side navbar and open the UI page.
Upload your brand logo, configure CTA colors, and select your preferred integration modes.
 ## User Management
You can invite users from your organisation, assign them roles as admins or members, and link them to specific corporates.
**Steps to invite users**
Login to the tartan console using your credentials.
Refer to the manage users section in the side navigation bar.
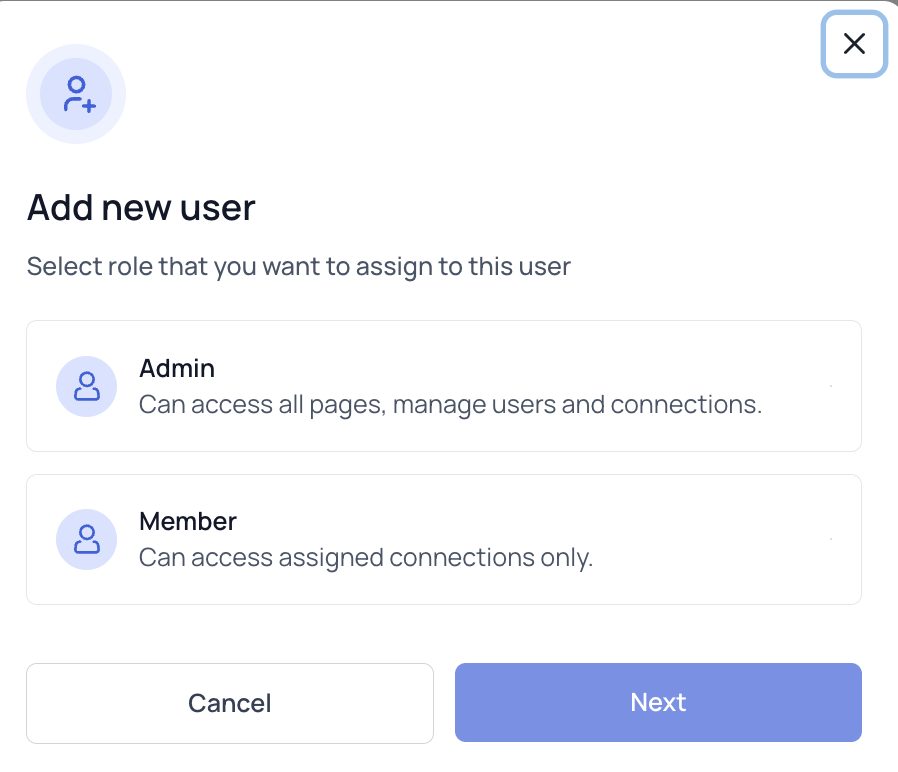
Refer to top right section, click invite user and choose the role.
## User Management
You can invite users from your organisation, assign them roles as admins or members, and link them to specific corporates.
**Steps to invite users**
Login to the tartan console using your credentials.
Refer to the manage users section in the side navigation bar.
Refer to top right section, click invite user and choose the role.
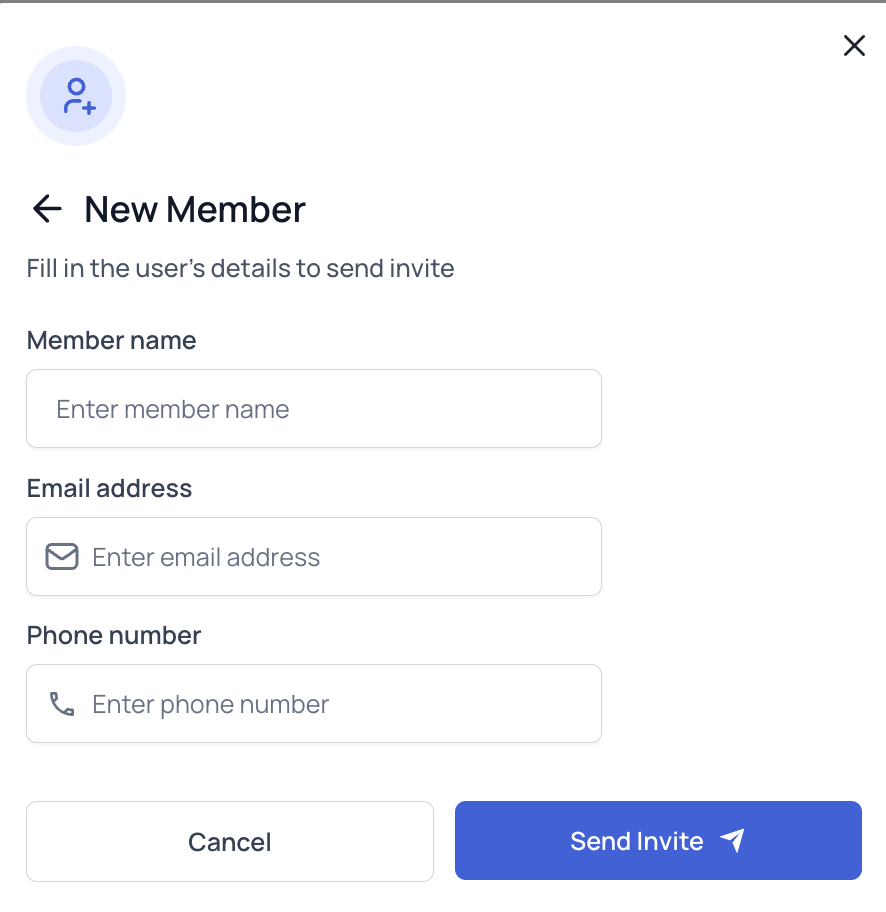
 Enter the user's name, email, and phone number to send the invitation.